

As a supplier of PPR electrofusion couplers, I understand the critical importance of correct alignment during the installation process. A misaligned PPR electrofusion coupler can lead to a host of problems, including leaks, reduced flow rates, and even system failures. In this blog post, I'll share some essential tips and techniques to ensure the correct alignment when installing a PPR electrofusion coupler.
Understanding the Basics of PPR Electrofusion Couplers
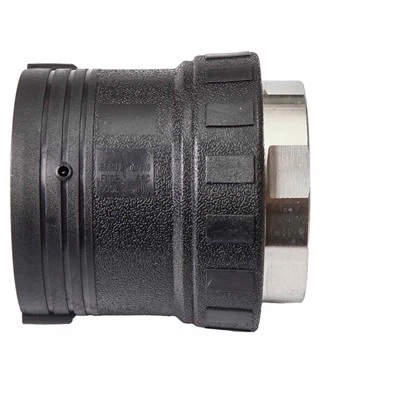
Before delving into the alignment process, it's crucial to have a basic understanding of PPR electrofusion couplers. These couplers are used to join PPR pipes together using an electrofusion welding process. The coupler contains an embedded heating element that, when energized, melts the inner surface of the coupler and the outer surface of the pipes, creating a strong, permanent bond.
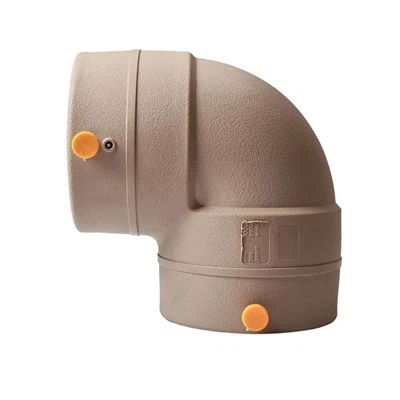
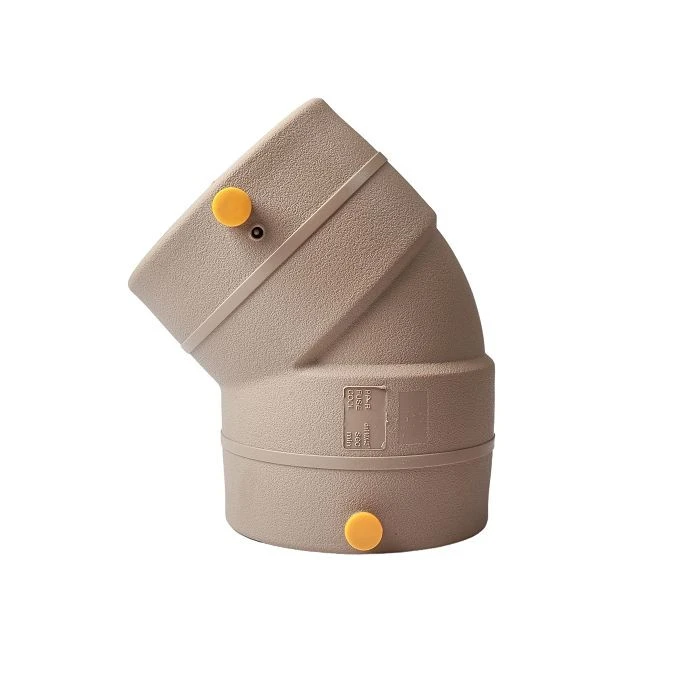
PPR electrofusion couplers come in various types, including straight couplers, PPR Electrofusion Tee, and PPR Electrofusion 90 Degree Elbow. Each type has its own specific installation requirements, but the fundamental principles of alignment remain the same.
Pre-Installation Preparation
Proper preparation is key to ensuring correct alignment during the installation of a PPR electrofusion coupler. Here are some essential steps to take before you begin:
1. Select the Right Coupler
Choose a PPR electrofusion coupler that is compatible with the size and type of PPR pipes you are using. Refer to the manufacturer's specifications to ensure a proper fit. Using the wrong coupler can lead to alignment issues and a weak joint.
2. Clean the Pipes and Coupler
Thoroughly clean the outer surface of the pipes and the inner surface of the coupler to remove any dirt, grease, or debris. Use a clean, dry cloth and a suitable cleaning agent if necessary. A clean surface is essential for a strong and reliable weld.
3. Mark the Insertion Depth
Use a marker to mark the insertion depth on the pipes. This will help you ensure that the pipes are inserted into the coupler to the correct depth, which is crucial for proper alignment and a strong joint. The insertion depth is typically specified by the manufacturer and can be found in the product documentation.
4. Check the Alignment of the Pipes
Before inserting the pipes into the coupler, check that they are properly aligned. The pipes should be straight and in line with each other. If the pipes are not aligned, use a pipe straightener or other suitable tools to correct the alignment.
Installation Process
Once you have completed the pre-installation preparation, you can proceed with the installation of the PPR electrofusion coupler. Here are the steps to follow:
1. Insert the Pipes into the Coupler
Carefully insert the pipes into the coupler up to the marked insertion depth. Make sure that the pipes are fully inserted and that there is no gap between the pipes and the coupler. Use gentle pressure to ensure a snug fit.
2. Check the Alignment Again
After inserting the pipes into the coupler, check the alignment again to ensure that the pipes are still straight and in line with each other. If necessary, make any adjustments to the alignment before proceeding with the welding process.
3. Connect the Welding Machine
Connect the welding machine to the coupler according to the manufacturer's instructions. Make sure that the connections are secure and that the welding machine is properly calibrated. The welding machine will supply the electrical current needed to melt the plastic and create a strong bond between the pipes and the coupler.
4. Start the Welding Process
Once the welding machine is connected and calibrated, start the welding process. Follow the manufacturer's instructions carefully to ensure that the welding time and temperature are set correctly. The welding time and temperature will depend on the size and type of the coupler and the pipes being used.
5. Monitor the Welding Process
During the welding process, monitor the coupler and the pipes closely to ensure that the welding is progressing as expected. Look for any signs of overheating, melting, or other issues. If you notice any problems, stop the welding process immediately and consult the manufacturer's instructions or a professional installer.
6. Allow the Joint to Cool
After the welding process is complete, allow the joint to cool for the recommended amount of time. This will allow the plastic to solidify and create a strong, permanent bond. Do not disturb the joint during the cooling process, as this can cause the joint to weaken or fail.
Post-Installation Inspection
Once the joint has cooled, perform a post-installation inspection to ensure that the alignment is correct and that the joint is strong and leak-free. Here are some steps to take:
1. Check the Alignment
Visually inspect the joint to ensure that the pipes are still straight and in line with each other. Use a straightedge or other suitable tool to check for any deviations from the desired alignment. If you notice any alignment issues, consult the manufacturer's instructions or a professional installer for advice on how to correct them.
2. Check for Leaks
Pressurize the system and check for any leaks at the joint. Use a pressure gauge to monitor the pressure and look for any signs of water or air leakage. If you detect a leak, shut off the system immediately and repair the joint before proceeding.
3. Test the System
Once you have confirmed that the alignment is correct and that the joint is leak-free, test the system to ensure that it is functioning properly. Run water through the pipes and check for any unusual noises, vibrations, or other issues. If you notice any problems, consult the manufacturer's instructions or a professional installer for advice on how to troubleshoot them.
Tips for Ensuring Correct Alignment
Here are some additional tips to help you ensure correct alignment when installing a PPR electrofusion coupler:
1. Use Proper Tools
Use the right tools for the job, including a pipe cutter, deburring tool, and welding machine. Using the wrong tools can make it difficult to achieve correct alignment and can also damage the pipes and the coupler.
2. Follow the Manufacturer's Instructions
Always follow the manufacturer's instructions carefully when installing a PPR electrofusion coupler. The instructions will provide detailed information on how to prepare the pipes and the coupler, how to insert the pipes into the coupler, how to connect the welding machine, and how to perform the welding process.
3. Train Your Installers
If you have a team of installers, make sure that they are properly trained in the installation of PPR electrofusion couplers. Provide them with the necessary training and resources to ensure that they understand the importance of correct alignment and how to achieve it.
4. Use Alignment Aids
Alignment aids, such as pipe clamps and alignment jigs, can be helpful in ensuring correct alignment during the installation process. These tools can help you hold the pipes in place and ensure that they are straight and in line with each other.

5. Seek Professional Help
If you are unsure about how to install a PPR electrofusion coupler or if you encounter any problems during the installation process, seek professional help. A professional installer will have the experience and expertise to ensure that the installation is done correctly and that the alignment is correct.
Conclusion
Ensuring correct alignment when installing a PPR electrofusion coupler is essential for a strong, reliable, and leak-free joint. By following the tips and techniques outlined in this blog post, you can increase your chances of achieving correct alignment and a successful installation.
As a supplier of PPR Electrofusion couplers, we are committed to providing high-quality products and excellent customer service. If you have any questions or need further information about our PPR electrofusion couplers or the installation process, please do not hesitate to contact us. We look forward to the opportunity to discuss your procurement needs and work with you on your next project.
References
- Manufacturer's instructions for PPR electrofusion couplers
- Industry standards and guidelines for PPR pipe installation
- Technical literature on PPR electrofusion welding